This week - we'll talk about the "eyedropper" tools - and what they do and why they are useful to you.
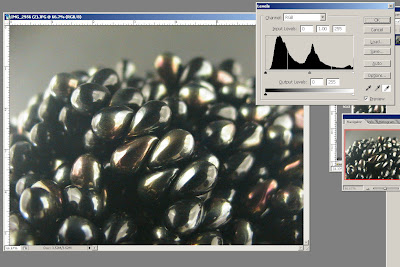
Here is our initial picture, which does not, on the face of it, look too terrible.

Once you have opened the Levels dialogue box (see last week if you are unclear on this) - you will see 3 little eyedropper dealies at the bottom right of the box.
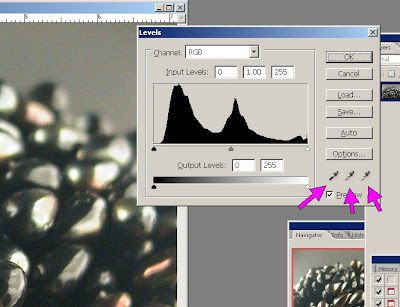
If you observe closely, you will see that they appear to be filled with, from the left, black, grey and white fluid. This is your clue to their function.
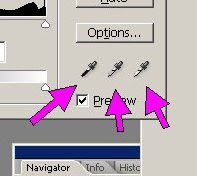
They are used to set (tell the computer) the black point, grey point (mid-tone) and white point (highlight) of your image. This is for those images where the contrast is not as great as it should be, the colour balance doesn't seem quite right, or what have you.
To use them, click on the eyedropper, and you will see your mouse icon become an eyedropper - mouse over your image, and click on a spot that corresponds to a point that should match the eyedropper tool.
For instance, with this image, I clicked on the black point eyedropper, and then clicked on the deep shadows just to the left and below centre of the image. Notice that the shadows are now much deeper and darker. I have - in essence - told the computer that "this spot here" is supposed to be black, and please make the rest of the picture work, based on that information.
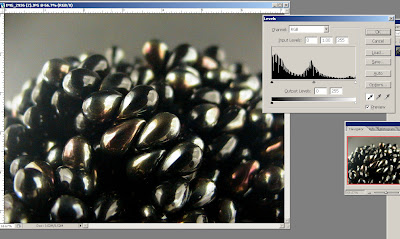
The grey point and the white point tool work the same way. So for this, I selected the grey point eyedropper, and clicked in the grey area above the beads. Notice that the overall tone of the image has changed. This is how I usually use the tool - to remove any colour cast that the image might accidentally have.
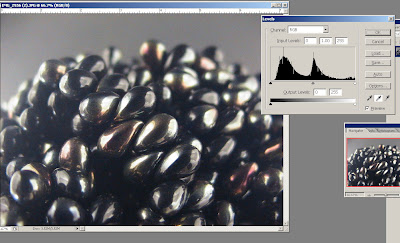 And this is the same image, once again - using the white point eyedropper - and clicking on a highlight on a bead. The change in this one is subtle, as the image was mostly correct for the highlights anyway.
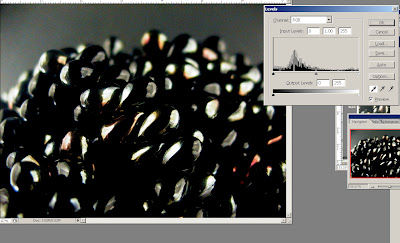
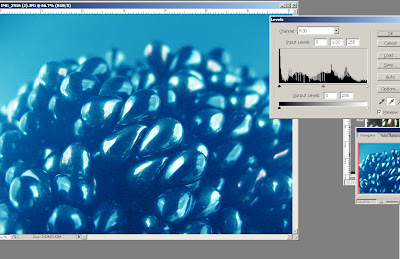
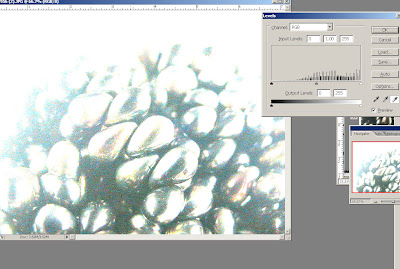
Of course, you can make it all go horribly wrong, by clicking on an area that DOES NOT CORRESPOND to the eyedropper tool. You can do this for fun, or for effect. Note - hitting the cancle button undoes the changes and closes the dialogue box and puts you back to the image, unchanged.
In this version - I set the black point to a dark area, but not a shadow - which has made the image very dark and broody.
For this, I set the grey point to a little sliver of a coppery coloured highlight at the top of the image - which has turned this into some crazy bottom of the ocean sea monster.
Selecting a mid-tone colour for the white point has rendered the image into a "nano-seconds before the shockwave hits you" picture.
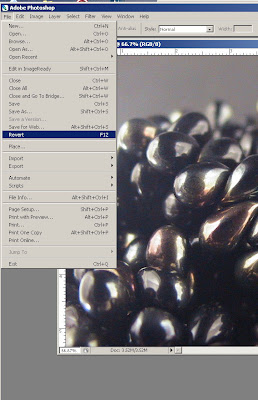
And finally, if you forget to cancel and apply changes you don't want, you can undo. (Edit, Undo, or Control+Z) In PS - in order to go back more than one step, you need to use File, Step Backwards. If you want to get rid of all the changes, right back to the last saved version, use File, Revert.
Generally - I use this less often than the manipulations that I showed you last week - but I find that for photos with a lot of silver (metal) in them - this is very nice for making sure that there is no colour cast. I pick the most neutral, intermediate part of the background to click on for my grey point.
The version on the right is the adjusted version. Notice how much richer and more accurate the colours are. It's a subtle difference - but an important one!

Cheers!

No comments:
Post a Comment