Click here to visit ...

Wednesday, August 17, 2011

Pics for those of you too far to come visit

I had a chance to spend more time in the store today than I usually do. I came in for a meeting, and was fortunate to have an hour beforehand to see everyone. I took the opportunity to snatch a few pics of the store. I apologize for the somewhat poor Iphone photo's. I have misplaced the camera charger for my real camera. Hopefully, I'll find that soon!

Standing in the middle of the store, looking towards the front. This table has all sorts of fancy Swarovski beads - and some incredibly gorgeous jewelry too!

A selection of our lampwork beads.


Bezels, resins, MetalFX, Epoxy Sculpt!

One of our Czech Glass walls.

Some of our Semi-precious. The pearls live a little further down that wall.

Of course there is a ton more including our walls filled with every type of Swarovski imaginable, and not to forget the huge seedbead walls!  We hope to see you in the store soon - it's worth the trip :-)

Monday, August 15, 2011

Saved by Gilders Paste

Not all design decisions are superb, some are downright fugly, while others merely "meh."

This ring was "meh." The decision to not add a silvery coating to the epoxy clay before it hardened lessened the look of the finished ring, IMHO. I thought it was ok, but not really what I wanted it too look like.

Gilder's paste to the rescue. Turns the black clay silvery, and makes the ring look more finished.


This one was more of an unfortunate accident. I waited to long to apply the metalFX to the Apoxie clay, and it had already hardened, so it didn't stick. Bleh.

Here it is - jazzed up with Gilder's Paste. Yay! This was more what I had in mind!


Gilder's Paste saves the day!


Sunday, August 14, 2011

The Joy of Metal Clay - Miracles of Nature


Please excuse a slight digression from metal clay today.
One thing I am inspired by is nature!


While camping a couple of weeks ago my youngest and I collected a Monarch caterpillar and two monarch eggs. We have spent the past two weeks entranced by the process of metamorphosis.


In addition to the eggs we collected we discovered eggs on our home milkweed plants (their sole source of food) and we now seem to have quite a Monarch nursery going on in our kitchen (the current count is one chrysalis, three caterpillars and four eggs).


First, there is the egg, it is small, oval in shape, whitish creamy colour which is found on the underside of the milkweed leaf.


Above is one of our recent eggs we found on our front lawn!


This stage takes about three days to hatch. Before they hatch you can begin to see the little critter developing in the egg. Right before it hatches you can clearly see the black head in the egg. When he or she emerges the first thing it does is eat it's shell. Then the critter slowly begins eating the milkweed and beginning to get its nice stripy colour.


Three day old monarch (above). The tiny holes are the areas where he has been munching the leaf.


Once born these little critters are extremely tiny. They are so small, we lost one of our newborns and we fear that he/she was eaten by one of bigger caterpillars (only because it is so tiny and probably was in the way). Below are the current babies in our nursery:


Far left is a 12 day old caterpillar, in the middle on the left side of the penny is a 9 day old caterpillar and there is a tiny, tiny one to the right of the penny who is three days old.


They grow quickly and in about two weeks they will begin to form their chrysalis.


The first caterpillar beginning to get ready to form its chrysalis. (this one we guess is about 12-14 days old, we didn't hatch him so we aren't certain).

Our first caterpillar is sitting in his chrysalis as I write this (we have decided it's a boy but won't know its actual sex until its pupates into a butterfly, Monarch's sex can be determined by the spots on their wings).

We had the joy of watching him begin the transformation. He began by seeking out a place to build his new home. We watched him as he left his milkweed leaves and began to walk up and down several sticks we had provided him for this purpose. Finally when he picked a spot he made a white bump on the stick with his mouth then turned around and attached his behind to this spot. Then he slowly lowered himself into a "J" shape hanging from the branch (pictured above).

After this point he hung there for quite a while (about 12 hours, not changing much), I noticed the shades of his yellow skin began to get a green hue to it. I missed seeing when it started to changed into the beautiful green chrysalis. I was sitting at my desk working on some work and within five minutes of not watching I turned my head and he had turned green (and like something out of an alien movie). Actually the whole process makes me think of aliens.


Beginning to form the chrysalis, you can still see the caterpillar like ridges and bumps. (it took about 30 minutes before it got its smoother look with the tiny golden dots as below).


As he does this he wiggles and wiggles, from my research the process is actually a shedding of his exoskeleton. Then he becomes this beautiful chrysalis with golden dots on it. I have to admit that the monarch chrysalis is one of the most beautiful exotic things created by nature.


Although this little nature lesson is far from metal clay. It has inspired me and I am hopping to create little nature series. I don't think it will be in silver sadly (budgetary cuts, you know) but we will see.


Our first chrysalis is five days old, we expect to have a Monarch, by next week (fingers crossed), stay tuned.


Saturday, August 13, 2011

The Business Chat - Christmas in August

The sun is shining, the bees are buzzing and guess what? Christmas is coming!!! Yes people it’s time to start the holiday countdown! Right now sales are slow because everyone is on vacation (maybe you are too?). This is the perfect opportunity to start planning and scheduling your holiday season. As soon as September hits life will move into warp speed and before you know it you’ll be sitting around that tree ripping presents apart and wondering if it’s too late to list online those Santa earrings you made.

While you’re sitting around in the sunshine with a lovely frosty beverage, grab your notebook and start planning.


  • Set your holiday goals. What would you like to see happen in your business this holiday season? Name a sales number. Write this number down on a big piece of paper and post in on your bulletin board so that you can see it everyday.

  • Work out your product line, are you creating anything special? If so how long does it take to make this and when should you order the supplies?

  • Think about your packaging for the holiday season. Even if you don’t do anything special your sales will be higher than they are now and you’ll need extra packaging. Usually ordering in advance is cheaper, work out when to buy this.

  • Have you signed up for any craft shows? If no, why not??? Go and find one.

  • Good, you’re in a craft show. You’ll need to think about your booth display, packaging, and inventory. Start making notes and think about dates. If you want stuff like posters for your booth (highly recommended) how long does it take to have these made. Once you know this, put the dates on your work calendar.

  • Think about how you can improve your online store for the holidays. How about a special banner or other graphics? Start creating or see if you can find someone to create it for you at a cheap price.

  • Photos are the most important part of selling online. If you start shooting now you’ll have great shots ready to go when needed. Are your existing photos all that they can be? Why not write the descriptions for the holiday items now? Start now and you can polish to perfection before you list in November.

  • Write your shop holiday announcement including stuff like shipping deadlines.

  • Are you planning on doing any holiday advertising? When do you need to submit your copy?

  • Schedule in when you’ll send out your holiday newsletter. Don’t yet have a newsletter? Go and sign up at Mailchimp (free newsletter management) and learn how to create a newsletter.

  • Perhaps you could host a private party for your work. Think about where to hold this, who to invite and when it should be.

  • How about some clever promotional ideas? Me, I’m creating bookmarks for my company. I’m eyeing the fridge magnets but the pricing is a bit steep.

Start now and you’ll totally rock out the season while remaining cool and collected.

Ps. Don’t forget that Christmas isn’t the only holiday coming up. There’s Halloween, Thanksgiving and Talk Like a Pirate Day (September 19). Remember we talked about finding a reason to sell anytime?

Thursday, August 11, 2011

Art from unusual materials

Do you incorporate any unusual materials into your jewelry? Have a look at this gallery of images on Britain's The Telegraph. Fascinating art created from everything from chewing gum, discarded hole punch dots, and an etch-a-sketch.

Have you considered making jewelry not only to wear, but to also display as art? If you make or purchase an "art to wear" piece, it would seem a shame to leave it linger in a jewelry box. Other than a shadow box, does anyone have any ideas for display?


New This Week!

Blankety blank blank


2472408101-01 Metal Sheet - 33 mm Butterfly Blank - Brass (1)Fill in the blanks - yep - go ahead. You can fill them in, or file them or punch them or hammer them. You can 2472404104-00 Metal Sheet - 23 mm Heart Blank - German Silver (Pack of 6)texture them, glue on them, wire wrap, decoupage, collage. You can, in fact, do whatever metal heart desires. We have new blanks - and this new line is thinner than the old ones, in case you were finding those, nice as they are, a little hard to manipulate. These are also available in Copper, Brass and German Silver. German silver is a nickel alloy, by the way, harder than silver, but if you have a nickel allergy, you'll want to stick to the copper and brass. Interesting new shapes, not just various sizes of circles, but also butterflies, rings and hearts.


The Bronze Age


s30102 Metal Beads -  Dinosaur Heart - Bronze (1)What happens if your dinosaur leaves you? You have a s30101 Metal Beads - 20 mm Hammered Puff Heart - Bronze (1)dino-sore heart! That's what this is - a big bronze heart with a funky lizard-hide pattern. Bunch of new, bronze beads this week - while these smaller, hammered hearts are cute too, my s30086 Metal Beads -  Dragonfly Rhombus - Bronze (1)personal fave is these dragonfly beads!


s30084 Finding - Toggle Clasp -  In a While Crocodile - Bronze (1)Although - this Crocodile clasp is also too awesome for words. How cute is that?


s30123 Sterling Beads - 24 mm Origami Seeds - Bright Sterling (1)Over in the Sterling beads - these seedpod-like beads really appeal to me - I'm thinking two of the smaller ones on chains for earrings and one of the larger ones as a pendant.


s30121 Sterling Beads - 10 mm Big Hole Evil Rodent - Antiqued Sterling (1)


And - another bead with a hole big enough for the Euro-style charm bracelets - or driving a truck through.


Thinking of Bailing?


s30119 Findings - Bails -  Navajo Thunder - Sterling (1)A nice bunch of hand-picked new bails! Hard to pick a s30117 Findings - Bails -  Triangle Filigree - Sterling (1)favourite here, maybe these really large Navajo Thunder bails, or these angular Triangle Filigree bails.


96960945754-18 Lampwork Bead Findings - 7 mm Beaded Bead Aligner - Antique Copper (10)More of the Lampwork bead aligners, more styles, more colours. These are spacers with a post that slides inside the lampwork bead to keep it straight and even on the beading cable, as the the holes in lampwork beads are generally larger that most other beads, resulting in them sitting a little crooked when strung. Use them like regular spacers, one each side of the lampwork bead, for a nice, even, straight look when strung.


s30104 Findings - Baby Feather End Crimp - Gold Plated (24)Baby crimps for feathers! Use these smaller leather-crimp-style crimps for the feathers. You can get up to 4 feather in one, and then, once it is secured, they are easy to hang in earrings, etc. Available in Silvertone, gold plated, and bright copper.

24000995 Findings - Crimps - 1.8 mm Tubes - Silver Plated (1.5 grams)Oh, and speaking of crimps - if the soaring price of silver is making you hunt around on the floor in search of stray crimp tubes, maybe check out these silver-plated crimp tubes as an alternate. Beats whacking your head on the table.


New Literature


s30154 Magazine - Stringing -  2011 - FallNs30155 Magazine - Lapidary Journal Jewelry Artist -  Special - Easy Metal Clayew Magazines - hot off the presses, Stringing Magazine, new special edition Easy Metal Clay from Lap. Journal, and the 6th annual Bead and Button compilation.

s30157 Book - Bead and Button Books -  Creative Beading - Vol 6


s30156 Book -  Spotlight on Wire - By Melissa CableNew book too - Spotlight on Wire, with a range of interesting projects that will appeal to beginners and advanced wire-ers.


Other new stuff too - so click on a link or a picture above, or start with the Main Page, if you feeling intrepid, (there is a LOT of stuff there), or chunk it down into bite-size portions by checking out the categories: Click on a link and go crazy! Firepolish, Pressed Glass, Swarovski Crystal, Seedbeads, Stone and Pearls, Preciosa Crystal, Metal Beads, Other Cool Beads, Findings, Metal Clay & Supplies or Books, Kits, Tools. Look for the "new" tags!


Or maybe check out all our free, yes, free projects. A new one every week.


Wednesday, August 10, 2011

Fun Clay Jewelry

Happy update day! If knowing that it's update day isn't quite enough to put a big smile on your face, how about these fun clay jewelry designs? It's certainly enough to encourage me to break out some of the clay for a playdate with my little ones on what promises to be yet another rainy day here in Toronto.

How about these Super Mario Plant Eating Piranha Earrings?


Or this Vanilla Mousse Chocolate Covered Cherry Ring by SouZouCreations of Japan


For the record Kawaii means cute in Japanese - for more Kawaii inspiration, be sure to check out the Kawaii Collectors Group on Flickr

Monday, August 08, 2011

Phones are working again!

Phones are working again - yay!

More Resin Fun


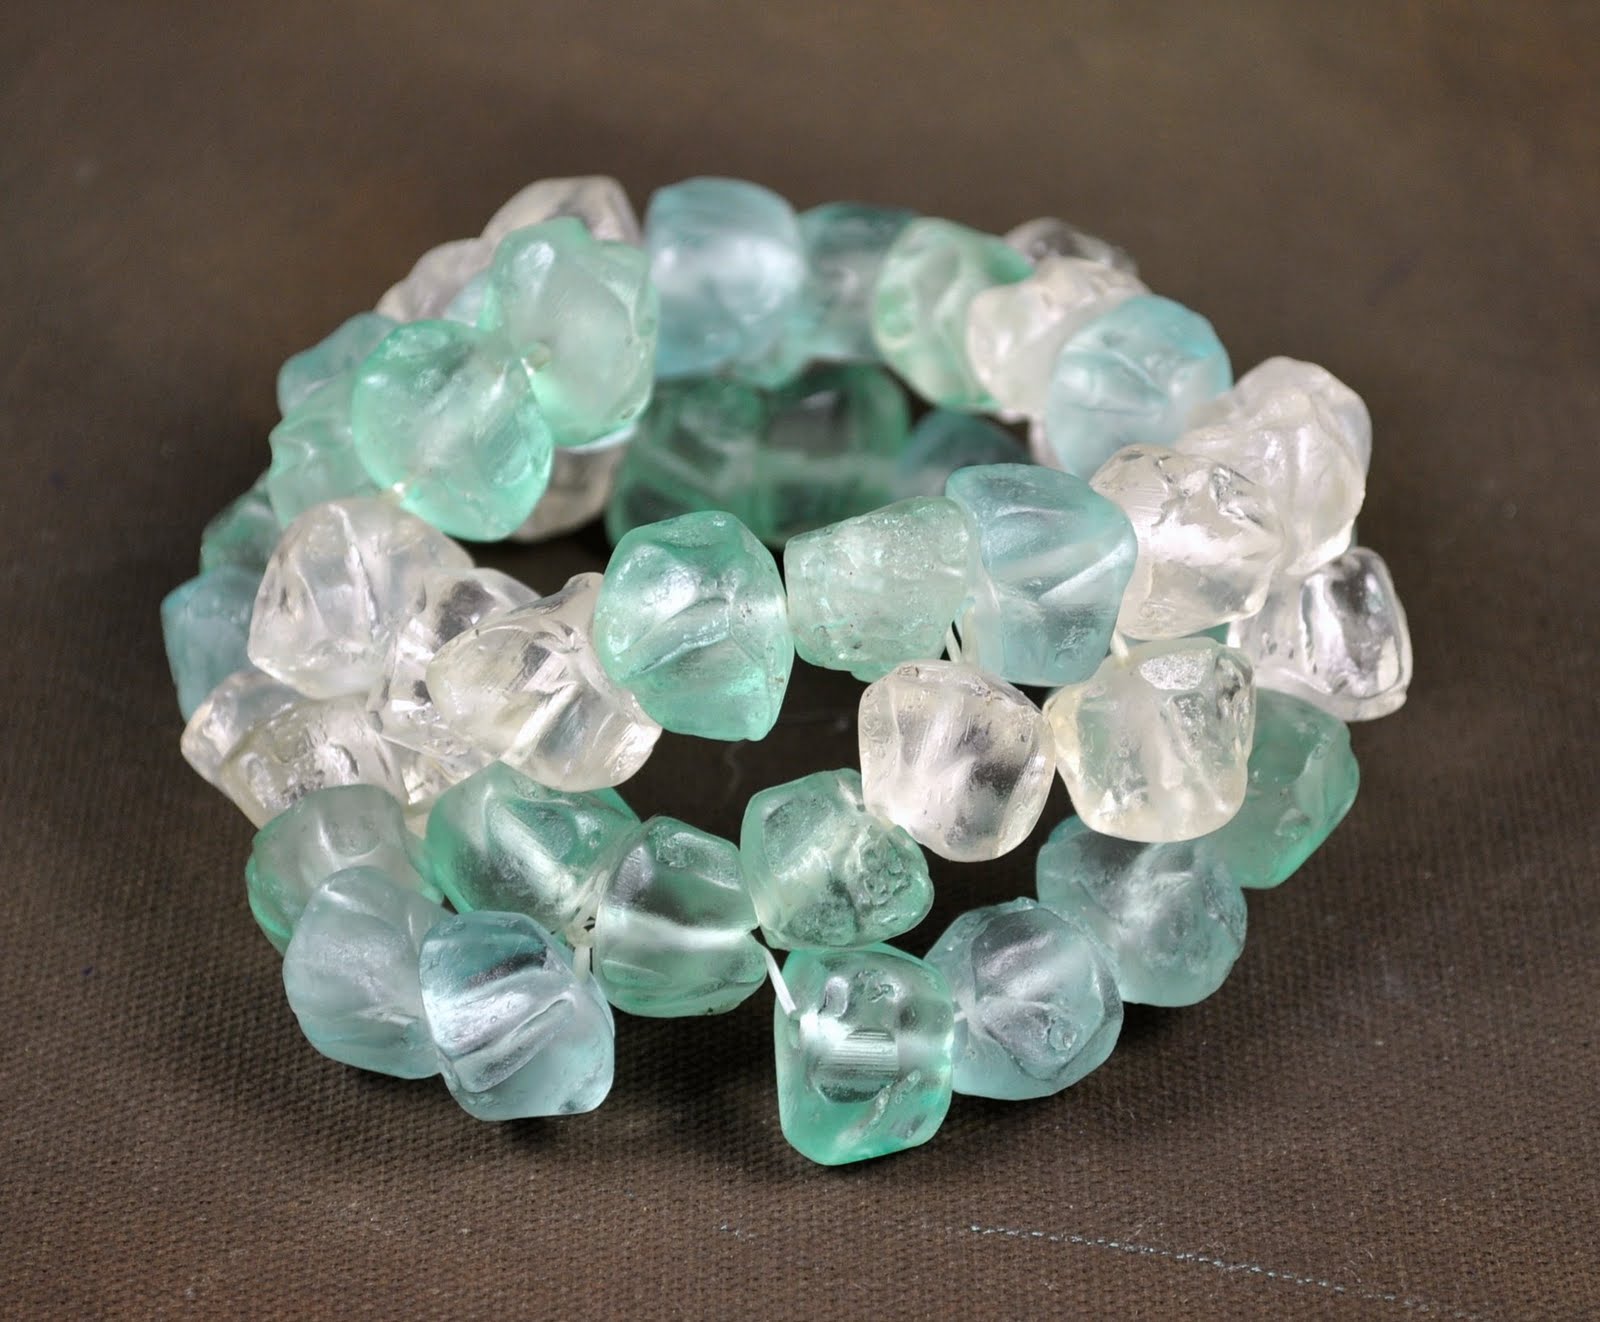
Fun summer bracelets can be as easy as some stretchy stringing stuff and a bunch of resin beads.


helopwh5 Stringing - .7 mm x 5 m Opelon Stretch Jewelry Fiber - White (Spool)For instance, from the Resin Rocks page, you can go for a monochrome look, or select different colours and make a multicoloured piece. Thread them on stretchy stuff,(a 74301002 Needle - Fine Twisted Beading Needle -  (Pack)wire needle will make it go MUCH faster), and secure with a surgeon's knot.


This bracelet looks way complicated, but it's actually pretty freeform.


After going around once, to make the initial bracelet - I decided to add to it by adding 3 or 4 beads, and doubling up, reattaching to the main bracelet by going through every 4 bead or so. After going around a second time, I went around a third time, filling in the gaps. The end result is a delightfully chunky piece that is light and comfortable to wear.


Feel free to experiment! You never know what you might come up with!
Sunday, August 07, 2011

Phone Woes

We are having troubles with our phone system! If you need to contact us, please do so by email while we get this resolved! Sorry for the inconvenience! Email info@beadfx.com

The Joy of Metal Clay: Inserting a photo with Resin

Finally I have a picture to insert into my most recent project. My family went off to Presqu'ile Provincial Park last week and had a wonderful time. Weather cooperated and there was a lot of fun biking, hiking and swimming.

To insert a picture into my piece, the first thing one needs to do is to size the picture so that it fits. I had a fancy software program which I have yet to reload onto my computer so I have found that I have a few quick and simple things I can do. What I have found is that cutting and pasting the picture you want into a Word Document and then double clicking on the picture while it is selected and you will get a "format picture" screen. From this screen you can select the "size" tab and then adjust your size to shrink the picture to the approximate size you need. This is a fabulous trick as one of the biggest challenge is getting the picture to be the right size for your piece. I will often cut and paste several pictures to have a selection as well as a back up if I cut the first one wrong.


After printing, I take my picture and I cut out a shape that will fit into my piece.


Once cut I slide the cut picture into the piece to make sure it fits properly.


You can print your picture on what every type of paper you wish. This time I have printed it out on standard laser jet paper. When I do this I find I need to put tape on the back of the picture so that the resin doesn't completely saturate the picture. (If I don't apply tape to the back of the picture, the resin saturates the picture and makes it translucent, not the effect I am looking for.) Just a strip or two of tape, like Scotch Tape to waterproof the back seems to work fine.


Next you want to mix up some resin. (Follow the instructions on the resin you are using). The key to mixing resin is to make sure you have equal portions and to try not to incorporate bubbles into your mixture). Sometimes I will weigh out what I pour to make sure they are equal, sometimes I don't. If you don't get the mixture right the resin will not set!!!!


Regarding bubbles. If you notice in the picture below, I have a lot of bubbles in what I made up. One trick to reduce this is to mix by pouring back and forth into the containers. Today, I did not have the patience and just stirred vigorously. (if you get bubbles they can be removed before the resin sets by applying light heat, what I do is place my piece on my kiln brick and lightly heat with a torch, just be sure to do it lightly, otherwise you will burn the resin!)


Once it is dried I will take a better picture.

Saturday, August 06, 2011

The Business Chat - Pre show work

“This show sucks! There’s no people here. These people are stupid. There’s too much jewelry/pottery/[insert craft here]! This organizer is terrible! No one is buying! It’s too hot for people to buy!” Blah blah blah.

At a recent craft show I heard a lot of comments like this. I heard them in MY booth. Fellow crafters kept wandering into my booth to whine. No, the show isn’t one of the better shows and yes it was hot. Here’s what I have to say.

Dear fellow crafter, it’s not the show, the show doesn’t suck, you do. You didn’t do your job before the show and therefore no one is purposefully coming to shop at your booth. And during the show you aren’t doing your job – which is staying in your booth and being nice to people – therefore no one is buying your work.

Simply showing up and placing your work on display is not enough. Think about a traditional brick and mortar store. If all it took to have a successful store was merely opening the front doors you wouldn’t have a mailbox full of flyers. The reason stores send out flyers and advertise is to drive traffic into the store. Your booth (or your website) is a store. You need to drive traffic to it. It is your business, not the show organizers. A show organizer’s business is the show. It is their job to bring customers to the show. It is your job to drive the customers from the front entrance into your booth.

Here’s a checklist of things to do to bring people to your booth at a show.


  • Tell your mailing list about the show. After all, these are your fans.

  • Announce your participation in your newsletter


  • Put the event on your website

  • Blog about the upcoming show


  • List the show on your facebook fan page


  • Tweet about the show

These are all things that are free to do, they just take a little time. When you are preparing for a show these things should be built into your pre-show work schedule.

When reading this if your first thought is, “but I’m brand new and don’t have any of these things” your second thought should be, “hey, I need to start a newsletter and a facebook fan page!” No it won’t happen overnight, or before the show. Start thinking about when you’re going to get these things. Put them on your work schedule and start reading.


If you don’t yet have a mailing list to send announcements to then your most important job at the show is to spend the show talking to every single person who stops by your booth. Convert these people to fans. Ask them to sign up for your mailing list. Give them your card with your contact information on it. Let them know where they can find you again, maybe make a flyer listing your next show(s) and your online information.

Making your work is the easy part of your job, selling it is the hard part. Being in a show is the first step towards selling, bringing customers into your booth is the second step. Once you have them in there then you can close the deal.

Friday, August 05, 2011

Inspiration Friday

So sorry for my lack of post yesterday. When we returned from vacation, we came back after a lightning storm did considerable damage to our phone and internet connection. We were down completely for a few days, and now the new equipment is acting a little flaky. I had no internet connection yesterday. Hopefully, it's back up for good this time.

With the humidity being what it is, I haven't really spent anytime in the studio this week. It's just been far to hot to get motivated to do much of anything.  This weeks inspiration images focus on colour. Hopefully, In the coming weeks - I'll get back into the studio and actually 'make' something ;-)


Source: None via Sheila on Pinterest