Access the curves dialogue box by selecting Image, Adjustments, Curves, or by pressing Control+M.
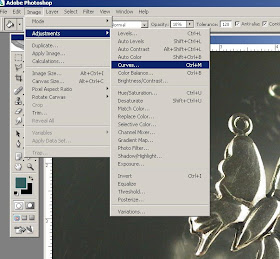
You will then see a diagonal line on a graph like this.
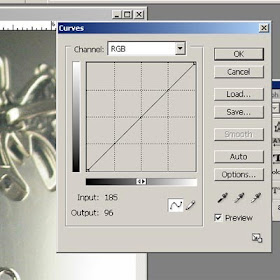 To make changes, click ON the diagonal line and drag it down and to the right a little ways. You will see your image change as you do this - with the dark areas getting darker and richer. Do the same near the top of the line, dragging up and to the left - and the light areas will get lighter. Watch your image as you do this, and stop when you get a result that you like.
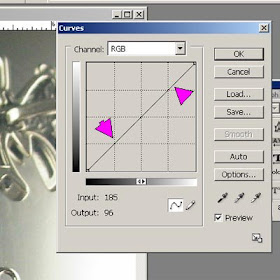 Your diagonal line should now describe a gentle S curve, like this.
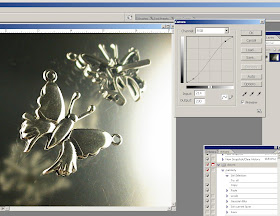 You can always select cancel if it gets too crazy.
This really lets you control the contrast in an image going from drab to dramatic.
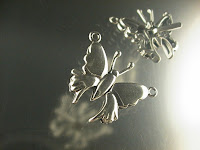
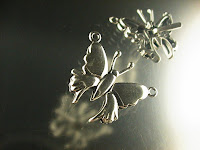 On the left - the original, on the right, the "dramatic" version.
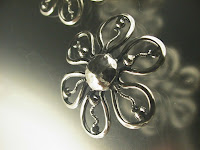
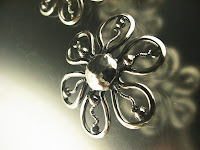 And, left is before and right is after.
 And again, left is before, and right is after. In the case of this, it is better to see more detail in the quartz stones, so I did not push the top part of the curve up as much.
If you want to have fun with your image, drag in the opposite direction. You can even do totally trippy stuff like this:
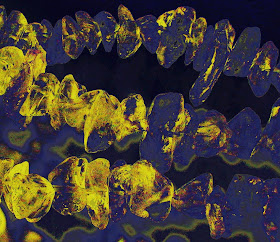 But it's not like that would help sell your jewelry!!!! (For this, I used the box at the top to select different colour channels and manipulated them separately, if you really want to know.)
No comments:
Post a Comment