Howsoever - it is a totally useful tool to put into your bag of tricks.
What "Unsharp Mask" does, is make soft focus, or slightly fuzzy pictures, look like they are in sharper focus. So "unsharp" sharpens. Go figure.
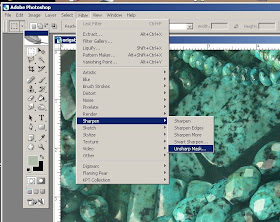
Access it in PS through the filters menu. Select Filter, Sharpen, Unsharp Mask.

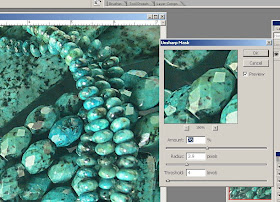
A dialogue box will open and give you three sliders to change options with.
 I generally find that a setting more or less like the above works well - although you might find it a little too unsubtle, in which case, slide the sliders to the left for less of the effect. When you find a setting you like, click "OK."
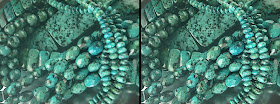
So your image can go from this, with the original on the left, and the altered image on the right. (If you click on the picture, you will get a larger version that you can see the changes more readily.)

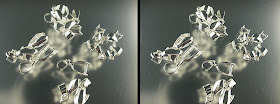
Or, again, in this picture.

Nice fix for a photo that is not as crisp as you'd like.
You can combine it with the last week's technique, or use it alone, as you desire.
So TRUE! "Unsharp Mask" is the best kept secret because of its silly name.
ReplyDeleteOnce you try it, you'll love it! It sure comes in handy...